What Happens During a Professional Roof Inspection
Published · Updated · 7 min read

Photo: Karl and Ali / CC BY-SA 2.0, via Wikimedia Commons
A roof inspection ought to leave you knowing three things: the condition of the roof, what needs doing now, and roughly how much life is left. If it does not, it was a sales visit.
This is what a thorough one actually involves, so you can tell the difference.
It starts on the ground
A useful inspection begins before anyone gets on a ladder. Walking the perimeter shows the roof planes in relation to each other, where water is being directed, and what has already been landing in the garden.
Granules at the downspouts, shingle fragments in the beds, dented gutters, eroded ground where a valley discharges, and sagging rooflines are all visible from here — and all of them shape where the close inspection concentrates.
The covering, slope by slope
Slopes age differently and are assessed separately. A south-facing slope takes the UV; a north-facing one under trees stays damp; the windward slope takes the uplift.
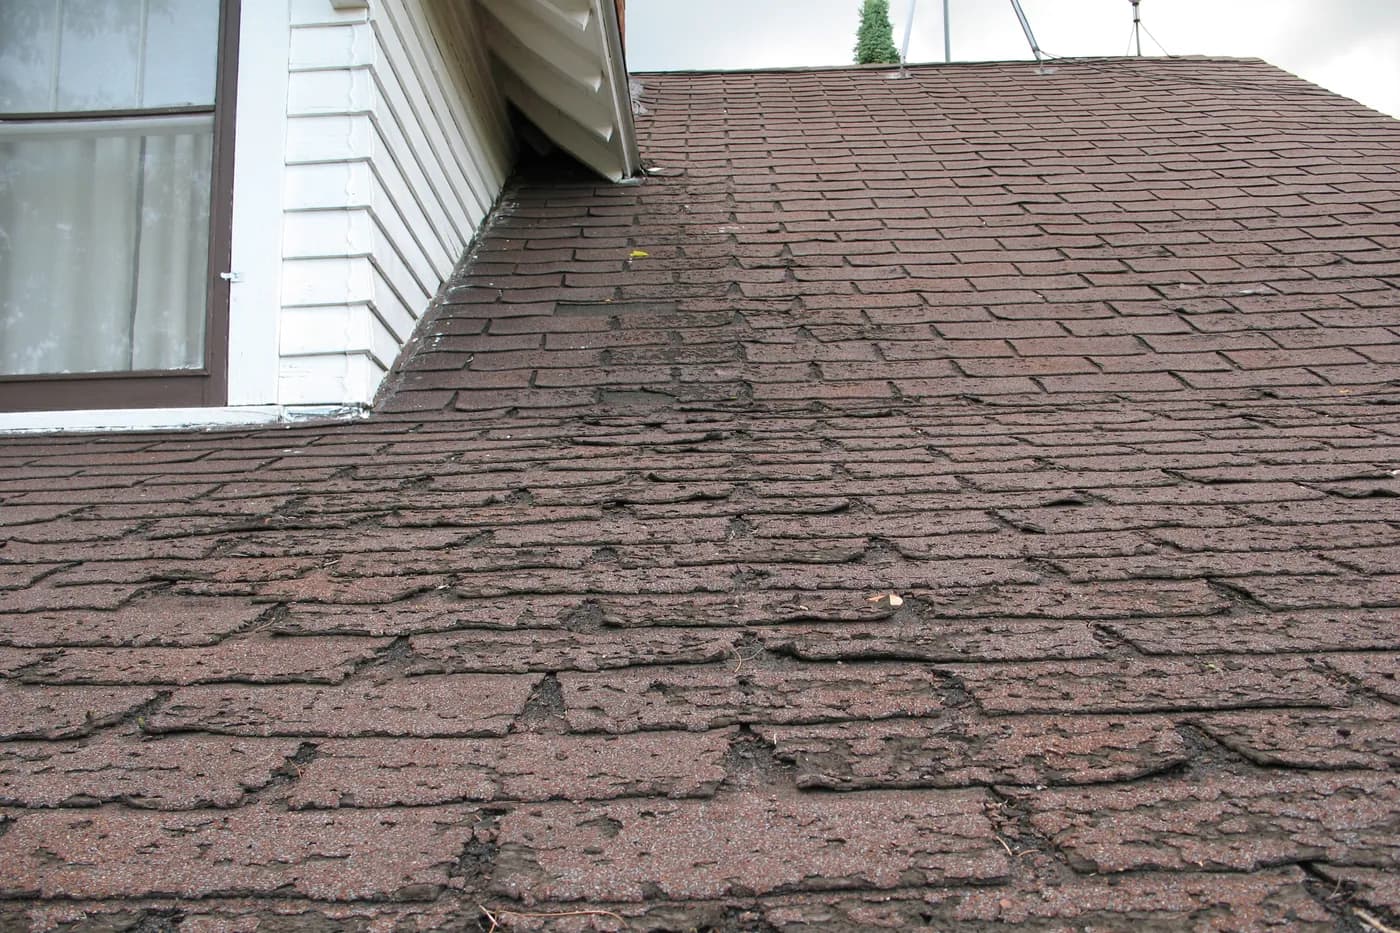
The specifics are granule coverage, whether shingles flex or crack when lifted, whether seals are intact, and — most importantly — whether deterioration is confined to one area or present everywhere. That distinction is what separates a repair from a replacement.
Every junction and every penetration
This is where the time goes, because this is where roofs leak. Each flashing detail is looked at individually rather than glanced across.
Penetrations are checked one by one, because they fail one by one. Vent boots in particular: the rubber collar hardens and splits long before the shingles around it are worn out, and it is among the most common findings on an otherwise healthy roof.
- Step and counter-flashing at every wall and dormer
- Chimney base, steps, counter-flashing and cricket where one exists
- Skylight curb and head flashing
- Valleys — type, wear and debris
- Every plumbing vent, exhaust termination and equipment mount
The roof edge and drainage
Drip edge present and correctly sequenced, fascia sound, gutters hung to fall and running to an outlet, downspouts discharging somewhere sensible.
This part is frequently skipped because it is not glamorous, and it is where a surprising proportion of hidden damage originates.
The attic, which is often the most useful part
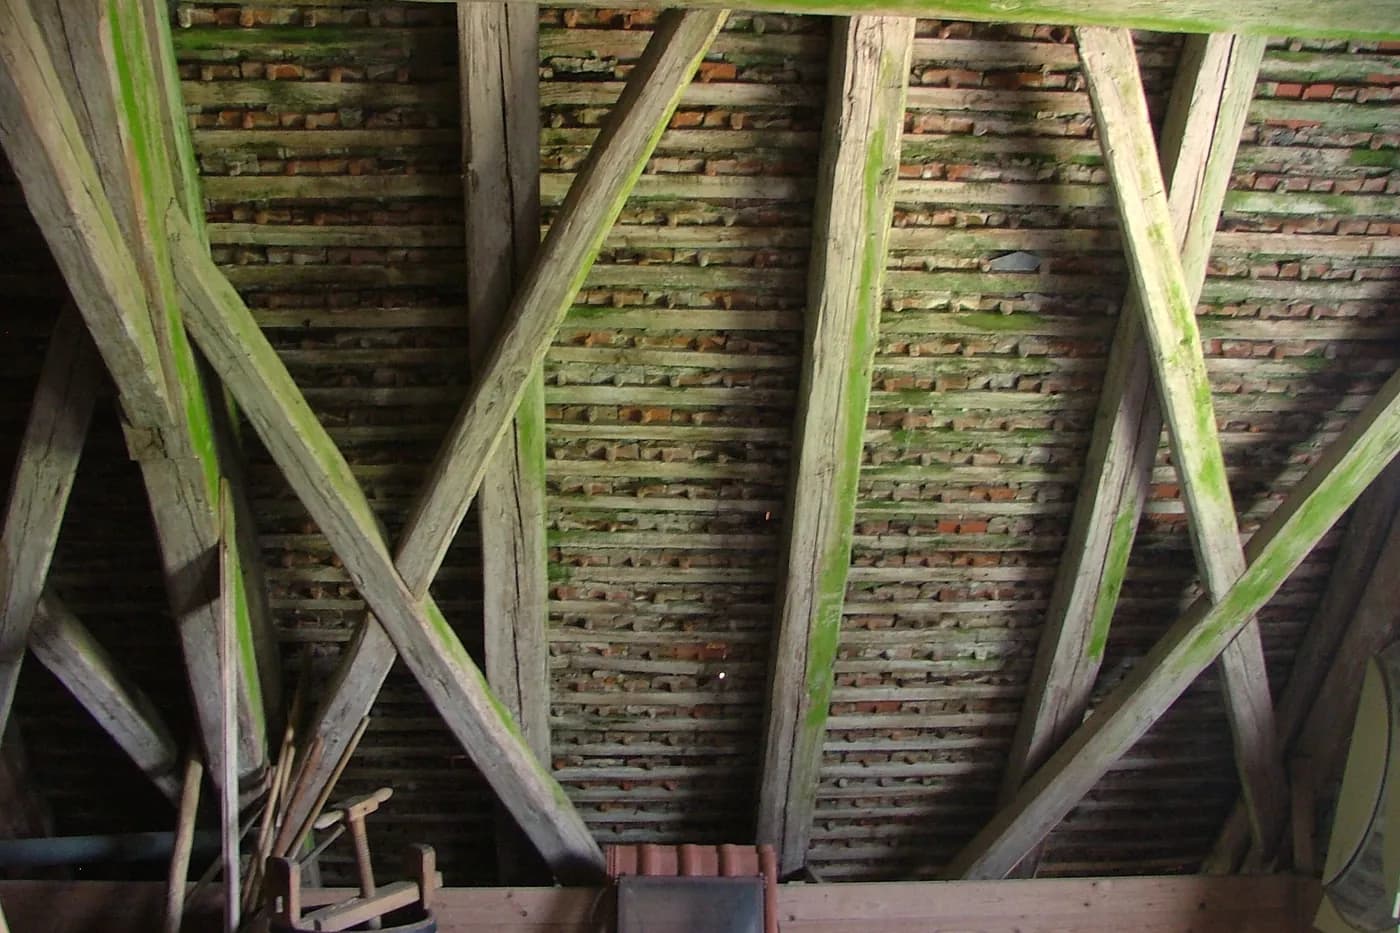
Where there is accessible attic space, it shows what has already happened rather than what might. Staining on the deck underside, delamination, rusty nails, damp or compacted insulation, daylight where there should be none.
It also shows whether the ventilation is real. Soffit intake blocked by insulation, several exhaust types short-circuiting each other, and bathroom fans discharging into the attic are all common and all invisible from outside.
What the report should contain
Written findings with locations, photographs of each, and a clear division between urgent, monitor and fine. Plus an honest view of remaining service life, with the reasoning attached rather than a number asserted.
It should also state what could not be assessed and why — a slope too steep to walk safely, an attic with no access. A report that quietly implies everything was examined when it was not is worse than one that says so.
Questions worth asking
Before: will the whole roof be walked, or assessed from ladders and the ground? Will the attic be inspected? Will I get photographs and a written report?
After: is the deterioration local or general? Which slopes are worst, and why? What condition is the flashing in? Is the ventilation working? And if replacement is recommended — what specifically rules out repair?
Want someone to look at your roof?
Related services: Roof Inspection, Roof Repair, Roof Replacement